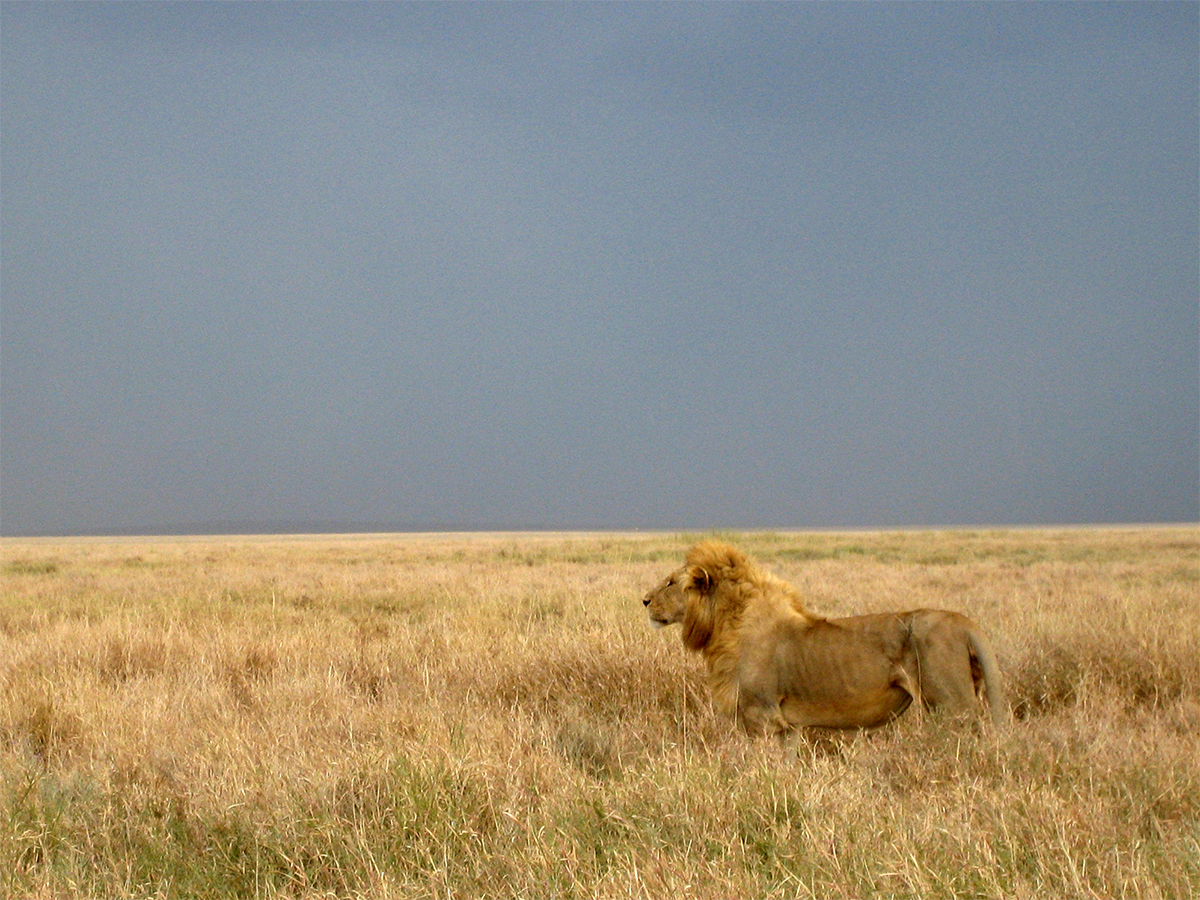
Task Steps: Start by duplicating the background layer and labeling it "Masked layer"
How to use the Quick mask:
1. Click on the
 box to get into mask mode. It's in the tool bar under the color boxes.
2. Choose black for the foreground color.

Remember to reset the colors to default Black & white.
Be aware of the brush hardness to make a clean cut out! It also should be 100% black or 100% white.
The screen will turn red when you start painting on it; red is what is being covered up (black paint brush).
3. Go to Edit > Fill and make sure contents say "Black" and then click Ok. The whole screen should be red.
The tool you need to use in the quick mask mode is the
 paint brush tool - black (covers) and white (cuts the hole out).
4. Next, using a large brush - with white color, Hardness 100 - color in ("erase red") all of the lion but GO OUTSIDE THE LINES.
5. After that, switch to a smaller black brush, Hardness 50 and color in UP TO THE LINES. Be sure to pay attention to details - change brush sizes to get into the smaller areas.
6. Check to see how your selection is coming along by clicking back and forth between standard mode and quick mask mode in the tools bar..
7. When you have finished in quick mask mode, click back on the quick mask button to edit in standard mode. The mask should disappear and the selection should now show.
1. In the layers palette click on the
 'Add layer mask' button at the bottom, to the duplicated layer. You should see a white on black cutout of your image appear on the layer.
- Check to make sure you did it right by turning off the visibility on the background layer. You should see the cut out of your image.
Create two adjustment layers
 in between the two lion layers, so that you won't alter any images.
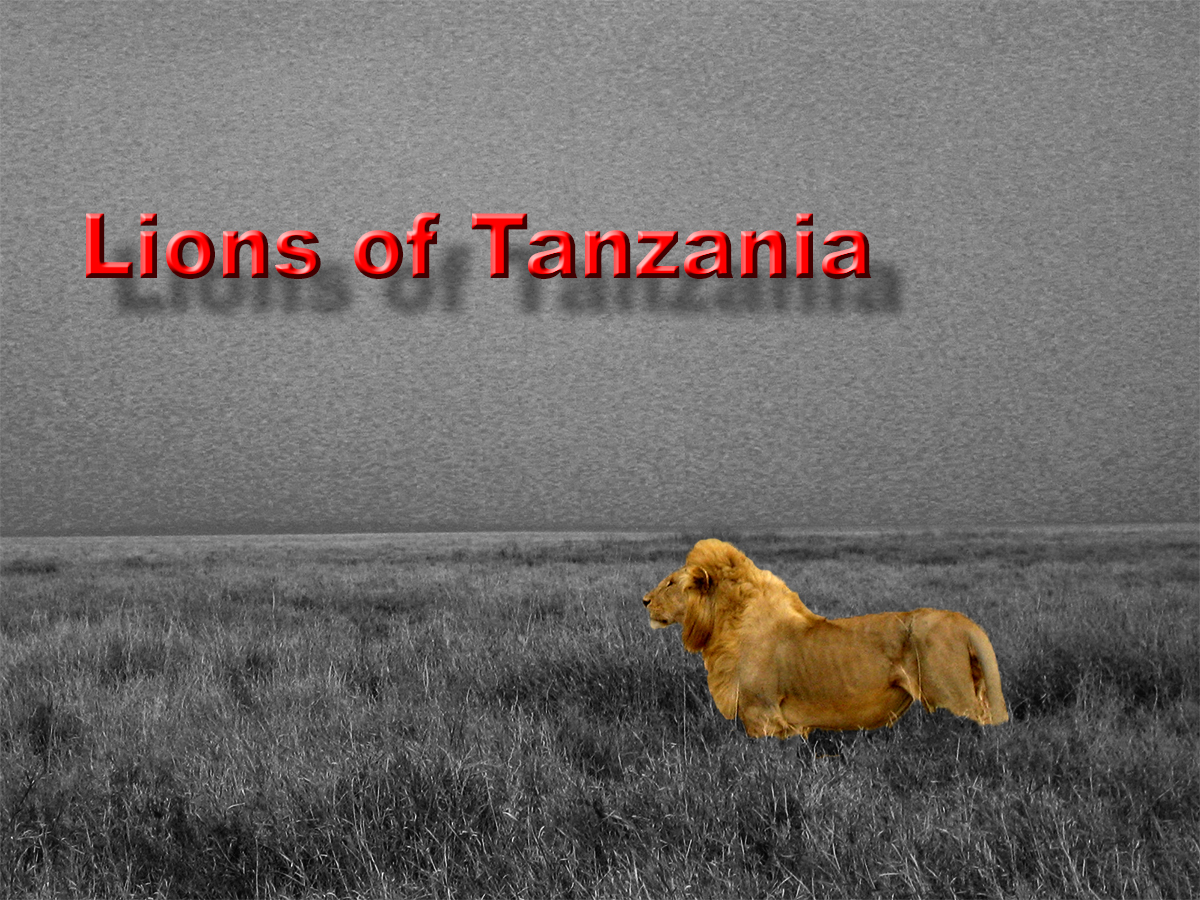
 1. The first adjustment layer will make the image look black and white. Adjust the colors specific to your image.
2. The second adjustment layer is your choice - play around and find which one looks best. If you decide to use 3, so be it, but don't go over 3 as they start "muddling" each other eventually.
1. Add a layer of text. It does not need to say what I wrote. Make sure it is in color (not black or white).
2. Add 2 different layer styles
 to the text - any effects you like. Play around with them until you get what you like.
When you have finished, transfer to the dropbox. IF YOU DID NOT FOLLOW THE SPECS, YOU WILL LOSE POINTS.
(drag the top picture to your desktop and work on it)
My example:
Reloading your mask selection to continue working on it - YOU ONLY DO THIS IF YOU NEED TO WORK ON THIS ON MORE THAN 2 CLASSES
Make sure you start our in Normal edit mode, not quick mask mode.
1. Click on the layer with the mask.
2. Command & click (PC Control & click) on the black and white mask section of the layer to reload your selection. You will notice the selection is now back.
3. Control & click (PC Right click) and select "Delete layer mask". This will delete the layer mask. You'll re-save it when you are done.
4. Click on the Quick mask mode, and continue your work.
5. When you are done, click on the Normal edit mode button, and add your layer mask again.
If you finish early, you can start working on a picture of your own and do the same steps.